10 Food Photography Tips & Tricks for Restaurants
Learn how to frame your food in the best possible way to attract customers, build your brand, and show off your menu. Find expert food photography tips here.

Author
We often experience the world through our eyes first, and food is no exception. As visual creatures, we judge based on looks. This means that your restaurant food photography has to be top-notch, as customers determine their dining decisions based on food photos.
Great restaurant food photography that portrays your menu in the best light (pun intended) is crucial for social media marketing, unifying your restaurant’s branding, and bringing in a loyal customer base.
Hiring someone for food photography can be costly, so why not learn to take beautiful photos yourself? Read on to discover our tried-and-tested food photography tips and techniques, from backdrops to lighting to framing.
Subscribe to On the line
Sign up to get industry intel, advice, tools, and honest takes from real people tackling their restaurants' greatest challenges.
By submitting, you agree to receive marketing emails from Toast. We’ll handle your info according to our privacy statement. Additional information for California residents available here.
Guide to Restaurant Social Media Marketing
Learn how to optimize your social media presence to showcase your brand, tell your story, attract new customers, and engage with your audience.

Tip #1: Use Indirect Natural Lighting (And Please, No Flash)
Our first tip for great food photography lighting is to use free, abundant natural light.
You’ll have to work quickly to shoot your menu, as the amount and strength of natural light varies throughout the day. Nonetheless, with a little planning and preparation, you can make the most of the “golden hour” for your restaurant food photography.
Natural, indirect light that comes from the back or side usually creates the best photos. You want to avoid any glares or strange bright spots that direct light can cause. Indirect light diffuses sunlight evenly, creating beautiful, well-lit photos without harsh shadows or highlights.
On a similar note, never use flash. The flash function is the enemy of good-looking food pictures, as you can create unnatural glare and perspectives that make your dishes look odd. Non-flash photos look best on your restaurant’s website design.
As you can see below, these Mamak dishes from Azalina's in San Francisco look gorgeous in indirect, natural light.
Tip #2: Add a Bit of Oil or a Spritz of Water
We know your ingredients are fresh, but that doesn’t always translate perfectly to the camera. To make your salads or vegetables look fresh, add a splash of oil or spray of water to give them a slight glimmer.
The oil or water will highlight them in all the right places to show off their freshness. These photos look great when designing your restaurant menu.
Tossing your salads in an oil-based dressing gives them a glisten in the natural light, while a splash of oil on a crispy chicken cutlet gives it that “fresh out of the fryer” look. In the shot below, water is added to the spinach leaves to create a fresh look:

Tip #3: Incorporate Simple Photography Techniques
Basic photography principles and techniques can really enhance the quality of your restaurant food photography. For example, we recommend reading up about depth of field and the rule of thirds. We’ll quickly explain them to you now.
Depth of field refers to the range of distance that is in focus in a photograph. It is a commonly used photography technique, as the eyes are naturally drawn to the important areas of a photo. This technique is used when you want to highlight a specific focal point in a picture while blurring the background.
Shots that get the depth of field right are excellent for showcasing details and textures. You can also work with your restaurant’s layout to position the food in an interesting place. Take a look at this cake photo, for example, from MeMe’s Diner in New York City:
The rule of thirds is another important concept in food photography. Photos are more appealing when the subject is not directly in the center of the photograph, but instead in one of the “thirds” of the shot.
The best part about the rule of thirds is how simple it is. To start using this technique, simply divide the photograph into three horizontal and three vertical sections. The subject (or main focus) should be placed at one of the intersections of the divisions outside of the center, as you can see in the photo below:

Tip #4: Mix up the Angle of the Photo
Not all foods are created equal. It’s why some foods look better from certain angles, and others require more effort to beautify.
Your task is to find the best angle for your dish, and the best way to do this is to simply try out a bunch of different angles. Some dishes benefit from a face-on, portrait-style shot, while others look better from a bird's-eye view.
For example, flat food like pizza and pancakes looks best from above. An angled side shot doesn’t quite capture the scope of the dish. If you’re opening a pizza shop and need some professional photos, we recommend some bird’s-eye view shots, such as this photo from Posto in Boston:
Conversely, burgers look much better when photographed from the side, as customers can see all the toppings more clearly. If you’re designing a fast food restaurant that sells burgers, side-on shots are your best friend. Check out this example from LA's Fire Burgers:
And for drinks, the best angle to shoot from is around 45 degrees. These side-on, slightly angled shots frame the glass and its contents in a more elegant light. This example from MeMe’s Diner shows you how you can show off your cocktails:
Tip #5: Clean Your Plates
This might go without saying, but the cleanliness of the plate goes a long way in food photography. Any slight smudge or stray ingredient can detract from the main focus of the image. It’s why some of the most famous food photographers use tweezers when handling and placing food on a plate.
Clean plates also highlight your restaurant’s hygiene, which can attract more customers and boost your establishment’s reputation. Check out our restaurant cleaning checklist for more information on how to make your space as hygienic as possible.

Tip #6: Keep the Background Tidy
Plain backgrounds are best for food photography, as they are the least distracting. The most popular backgrounds are dark colors, light and pale walls, and wood. A neutral background doesn’t have to be completely plain, but it shouldn’t detract from the main subject of the photo.
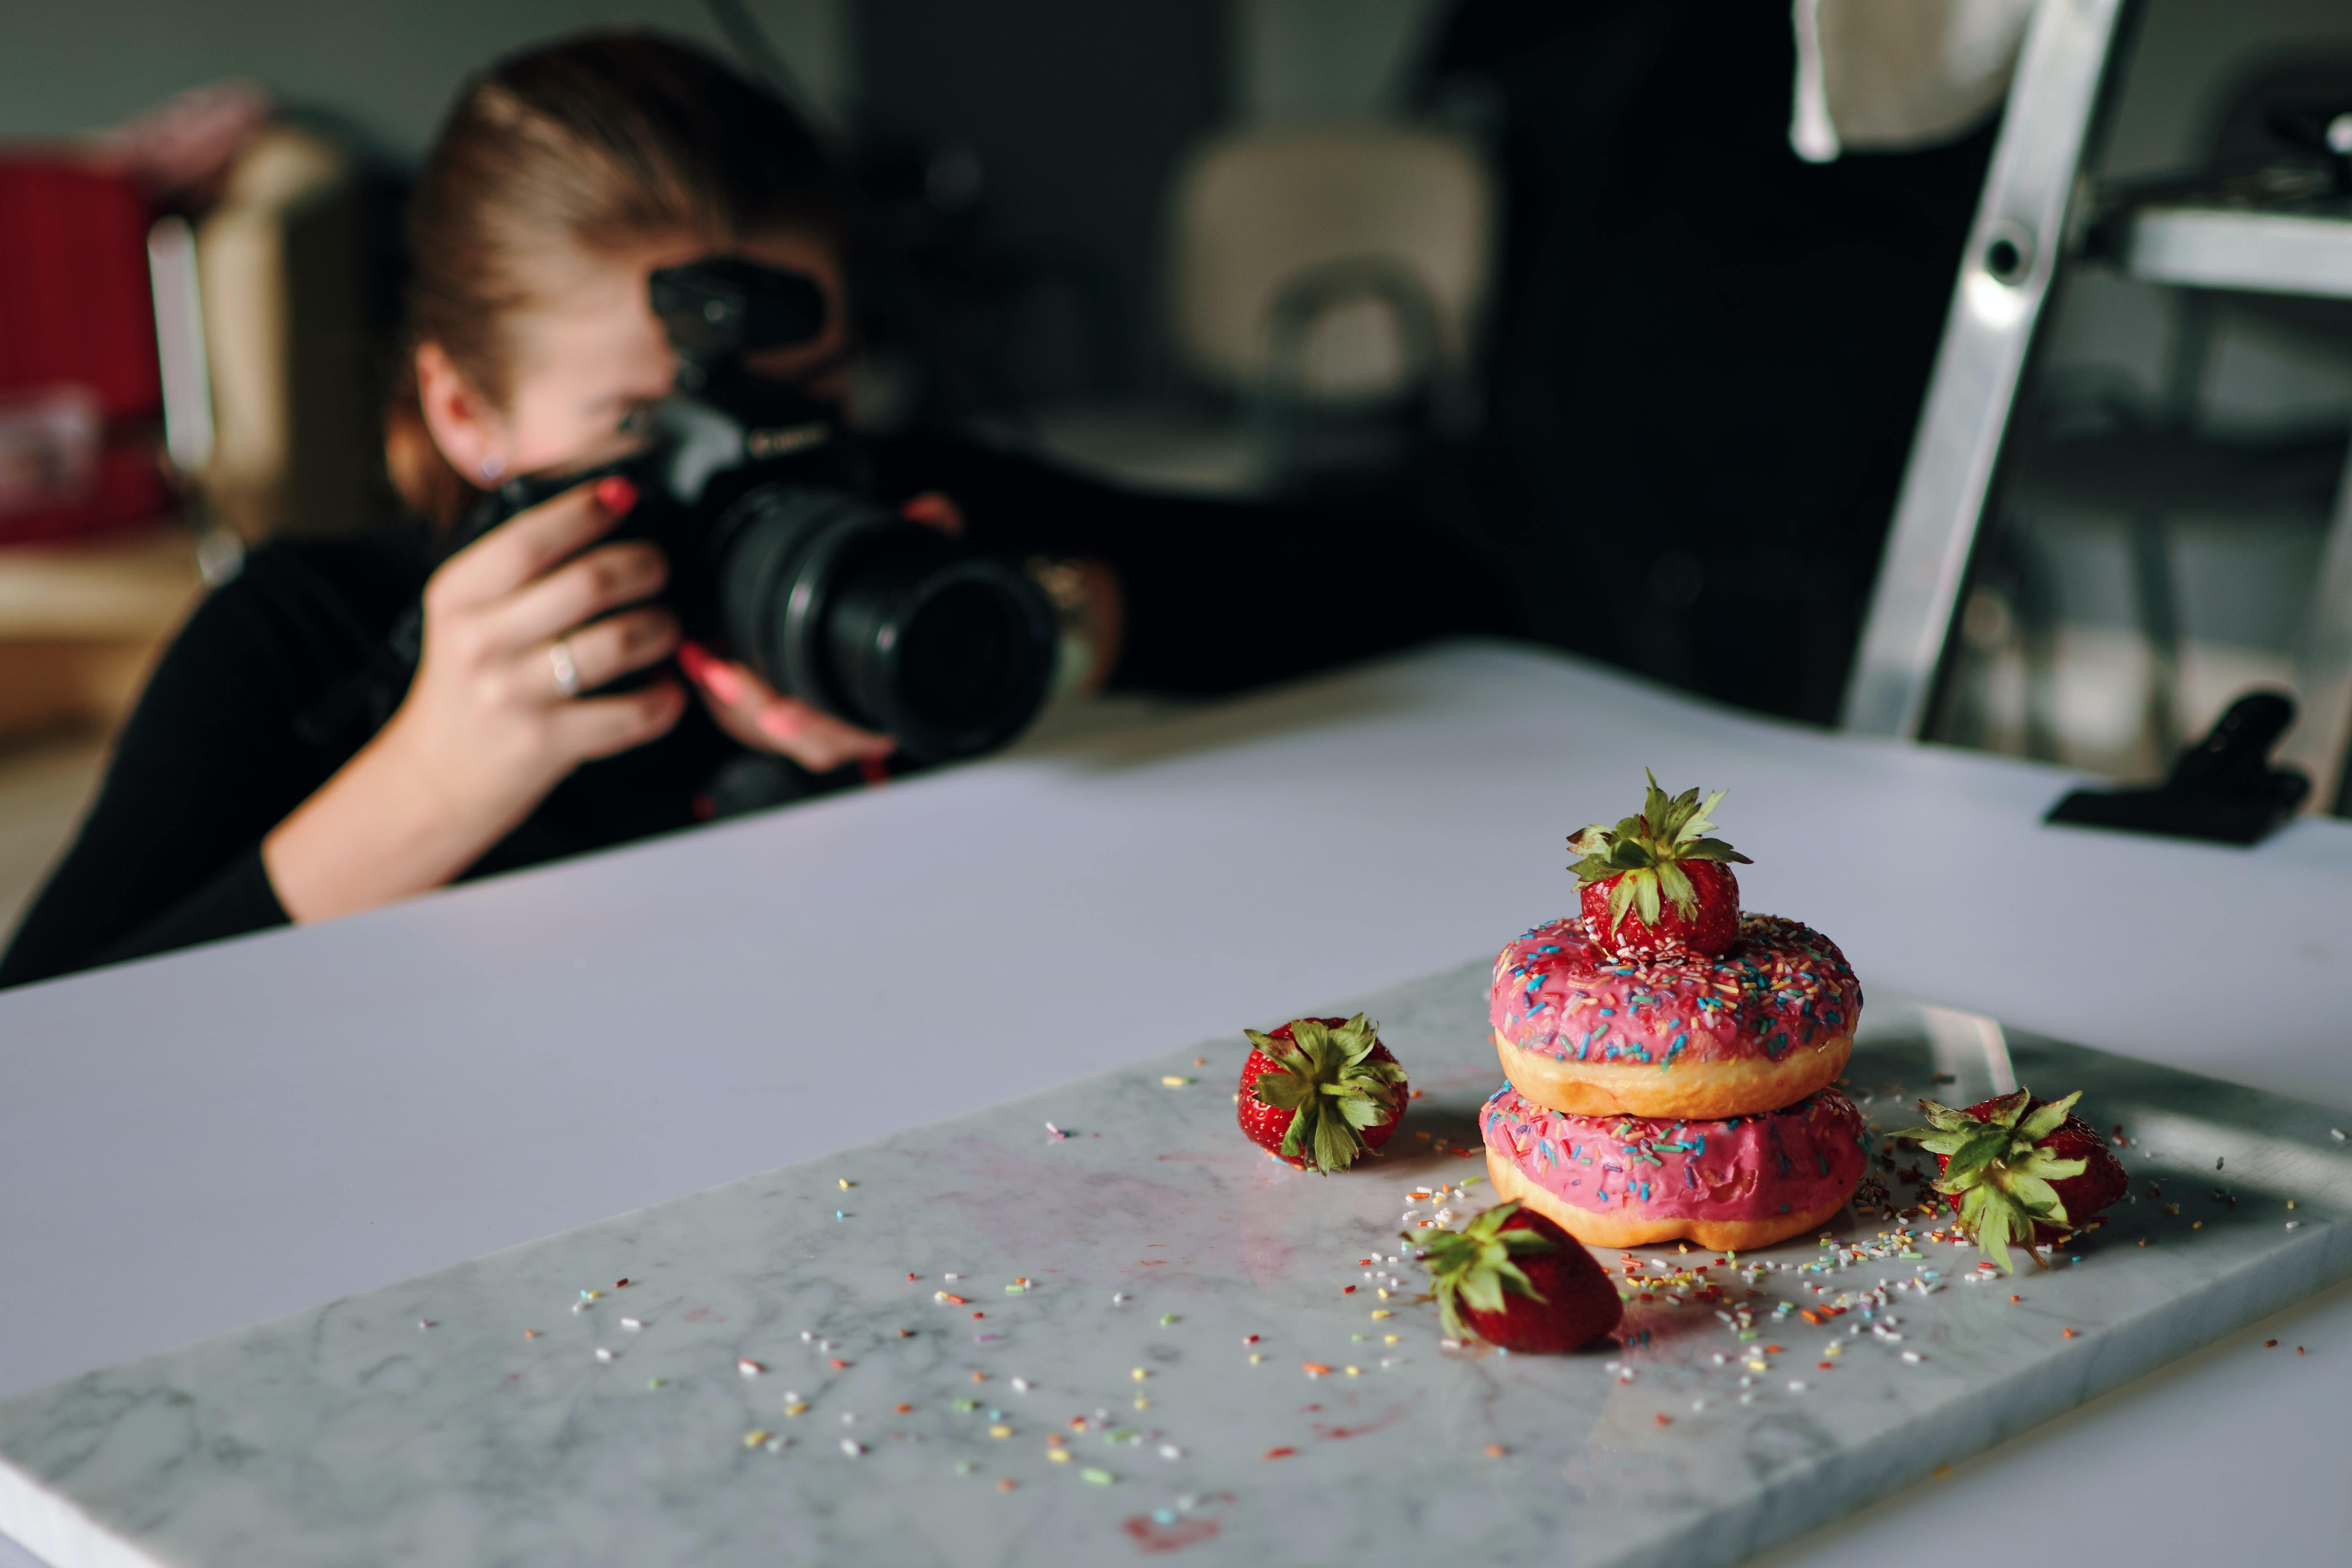
For example, this fall salad from Clay Restaurant is shot on a simple, neutral background. The gray marbling on the plate provides some visual interest, while the white background lets the food shine.
Tip #7: Show Off Your Restaurant
One of the great things about food photography is that you can add whatever you want to suit your specific needs. Do you want to show off your restaurant’s trendy design? Try incorporating elements of it in photos, such as walls, chairs, cutlery, and accessories, so that customers have a better sense of your decor and overall vibe.
In East Harlem, Alison’s verdant, beautiful outdoor space serves as a refreshing backdrop for brunch:
Tip #8: Play with Your Plating
When constructing your photo compositions, don’t forget to think about the layout of your dishes. Try a few different arrangements to figure out what works best. After a while, you’ll start to understand which angles work and where the best location for an in-house food photoshoot is.
It’s also a great opportunity to rethink how you plate certain dishes. Guests love to snap pictures of creative garnishes and presentations, so don’t be afraid to experiment with flavor combinations and menu engineering!
Kopitiam in New York City is a great example of this. Neat bowls of noodles or rice topped with bright sauces, proteins, and cucumber make this beautiful photo a no-brainer for social sharing:
Tip #9: Garnish Your Foods
Some delicious foods, such as soups, stews, curries, or any dish with a healthy amount of liquid and/or sauce, don’t always photograph as well as they taste. This is where a little embellishment is useful for photography and presentation.
A dash of fresh herbs, vegetables, or any element that provides color and texture helps. In the picture below, Thai Diner in New York City shows off their Khao Soi Curry, which is topped with herbs, chillies, pickled red onions, and fried noodles. These ingredients work together to add brightness, flavor, texture, and color.
Tip #10: Try Shooting Close Up and Further Away
Every trained food photographer experiments with angles, placement, and backdrops for their restaurant photography. Playing around with these aspects gives you more opportunities to discover what works and find innovative ways to showcase your food and drink.
On that note, our last tip is to try shooting close-up or far away from the camera! If your dish has interesting textures or an element you want to highlight, try taking a picture up close, like this eggs dish by MeMe’s Diner:
For dishes involving multiple items, or if you want to incorporate interesting food photography backdrops, try positioning your camera further away. It’s one of the most common food photography techniques and helps you show off more of what you offer.
This picture from food photographer Clay Williams for Fuku Restaurant is a great example:

Post Your Great Photos on Your Social Media
One of the more popular trends in social media is for people to post pictures of their food. After all, who doesn’t love looking at amazing, drool-worthy dishes? For social media users to easily scroll through feeds of similar concepts, hashtags are the way to go. Incorporating hashtags is important if you’re trying to grow your follower base.
Below are the most popular food hashtags, along with the number of images using them on Instagram. To maximize your visibility, include hashtags that match your city, the cuisine you serve, and the dish being photographed.
#foodie (264 million images); often paired with #picoftheday
#foodporn (312 million images)
#instafood (247 million images)
#foodstagram (129 million images)
#foodphotography (119 million images)
Pair Your Photos with Great Tech
The foundation of any restaurant is excellent food and customer service — but attracting customers to your restaurant requires professional-grade restaurant food photography. With some simple and effective food photography techniques, you can achieve this with minimal costs or even for free!
Plus, these pictures don’t just serve as social media content or for menus. They can also be repurposed for online POS systems and online delivery apps, helping you entice more customers and increase sales.
Food photography is essential to any restaurant operator’s marketing plan. Make it a part of yours, and you’ll see the payoff much sooner than you think. Pair top-quality photography with high-tech restaurant tools to create the best recipe for success.
Related Restaurant Design Ideas
FAQs
What is the meaning of food photography?
Our first experience of food is through our eyes. Food photography is about capturing the tastes, textures, and aromas of food and drink through the medium of imagery. For restaurant operators, it’s a way to help their customers experience the menu from their phones or computers.
How to photograph food professionally?
Anyone can learn to photograph food to a professional standard. By following the tips and tricks listed in this article, you can arrange and frame food to create beautiful photos. Simple tricks include the rule of thirds, avoiding flash, and experimenting with compositions.
What angle is best for food photography?
Some food types are better suited to certain angles than others. You should use overhead angles for flat items, such as pizzas and pancakes, but side angles for food with multiple layers, like burgers and lasagnas. Other items benefit from 45-degree angles, such as salads and cocktails.
Restaurant Marketing Plan
Create a marketing plan that'll drive repeat business with this customizable marketing playbook template and interactive calendar.
Is this article helpful?
DISCLAIMER: This information is provided for general informational purposes only, and publication does not constitute an endorsement. Toast does not warrant the accuracy or completeness of any information, text, graphics, links, or other items contained within this content. Toast does not guarantee you will achieve any specific results if you follow any advice herein. It may be advisable for you to consult with a professional such as a lawyer, accountant, or business advisor for advice specific to your situation.


Subscribe to On the line
Sign up to get industry intel, advice, tools, and honest takes from real people tackling their restaurants' greatest challenges.
By submitting, you agree to receive marketing emails from Toast. We’ll handle your info according to our privacy statement. Additional information for California residents available here.