
How to Build a Food Trailer from Scratch in 10 Simple Steps
Building a food trailer is a cost-effective, flexible way to launch a mobile food business. Learn how to design and build a food trailer from scratch.
Author
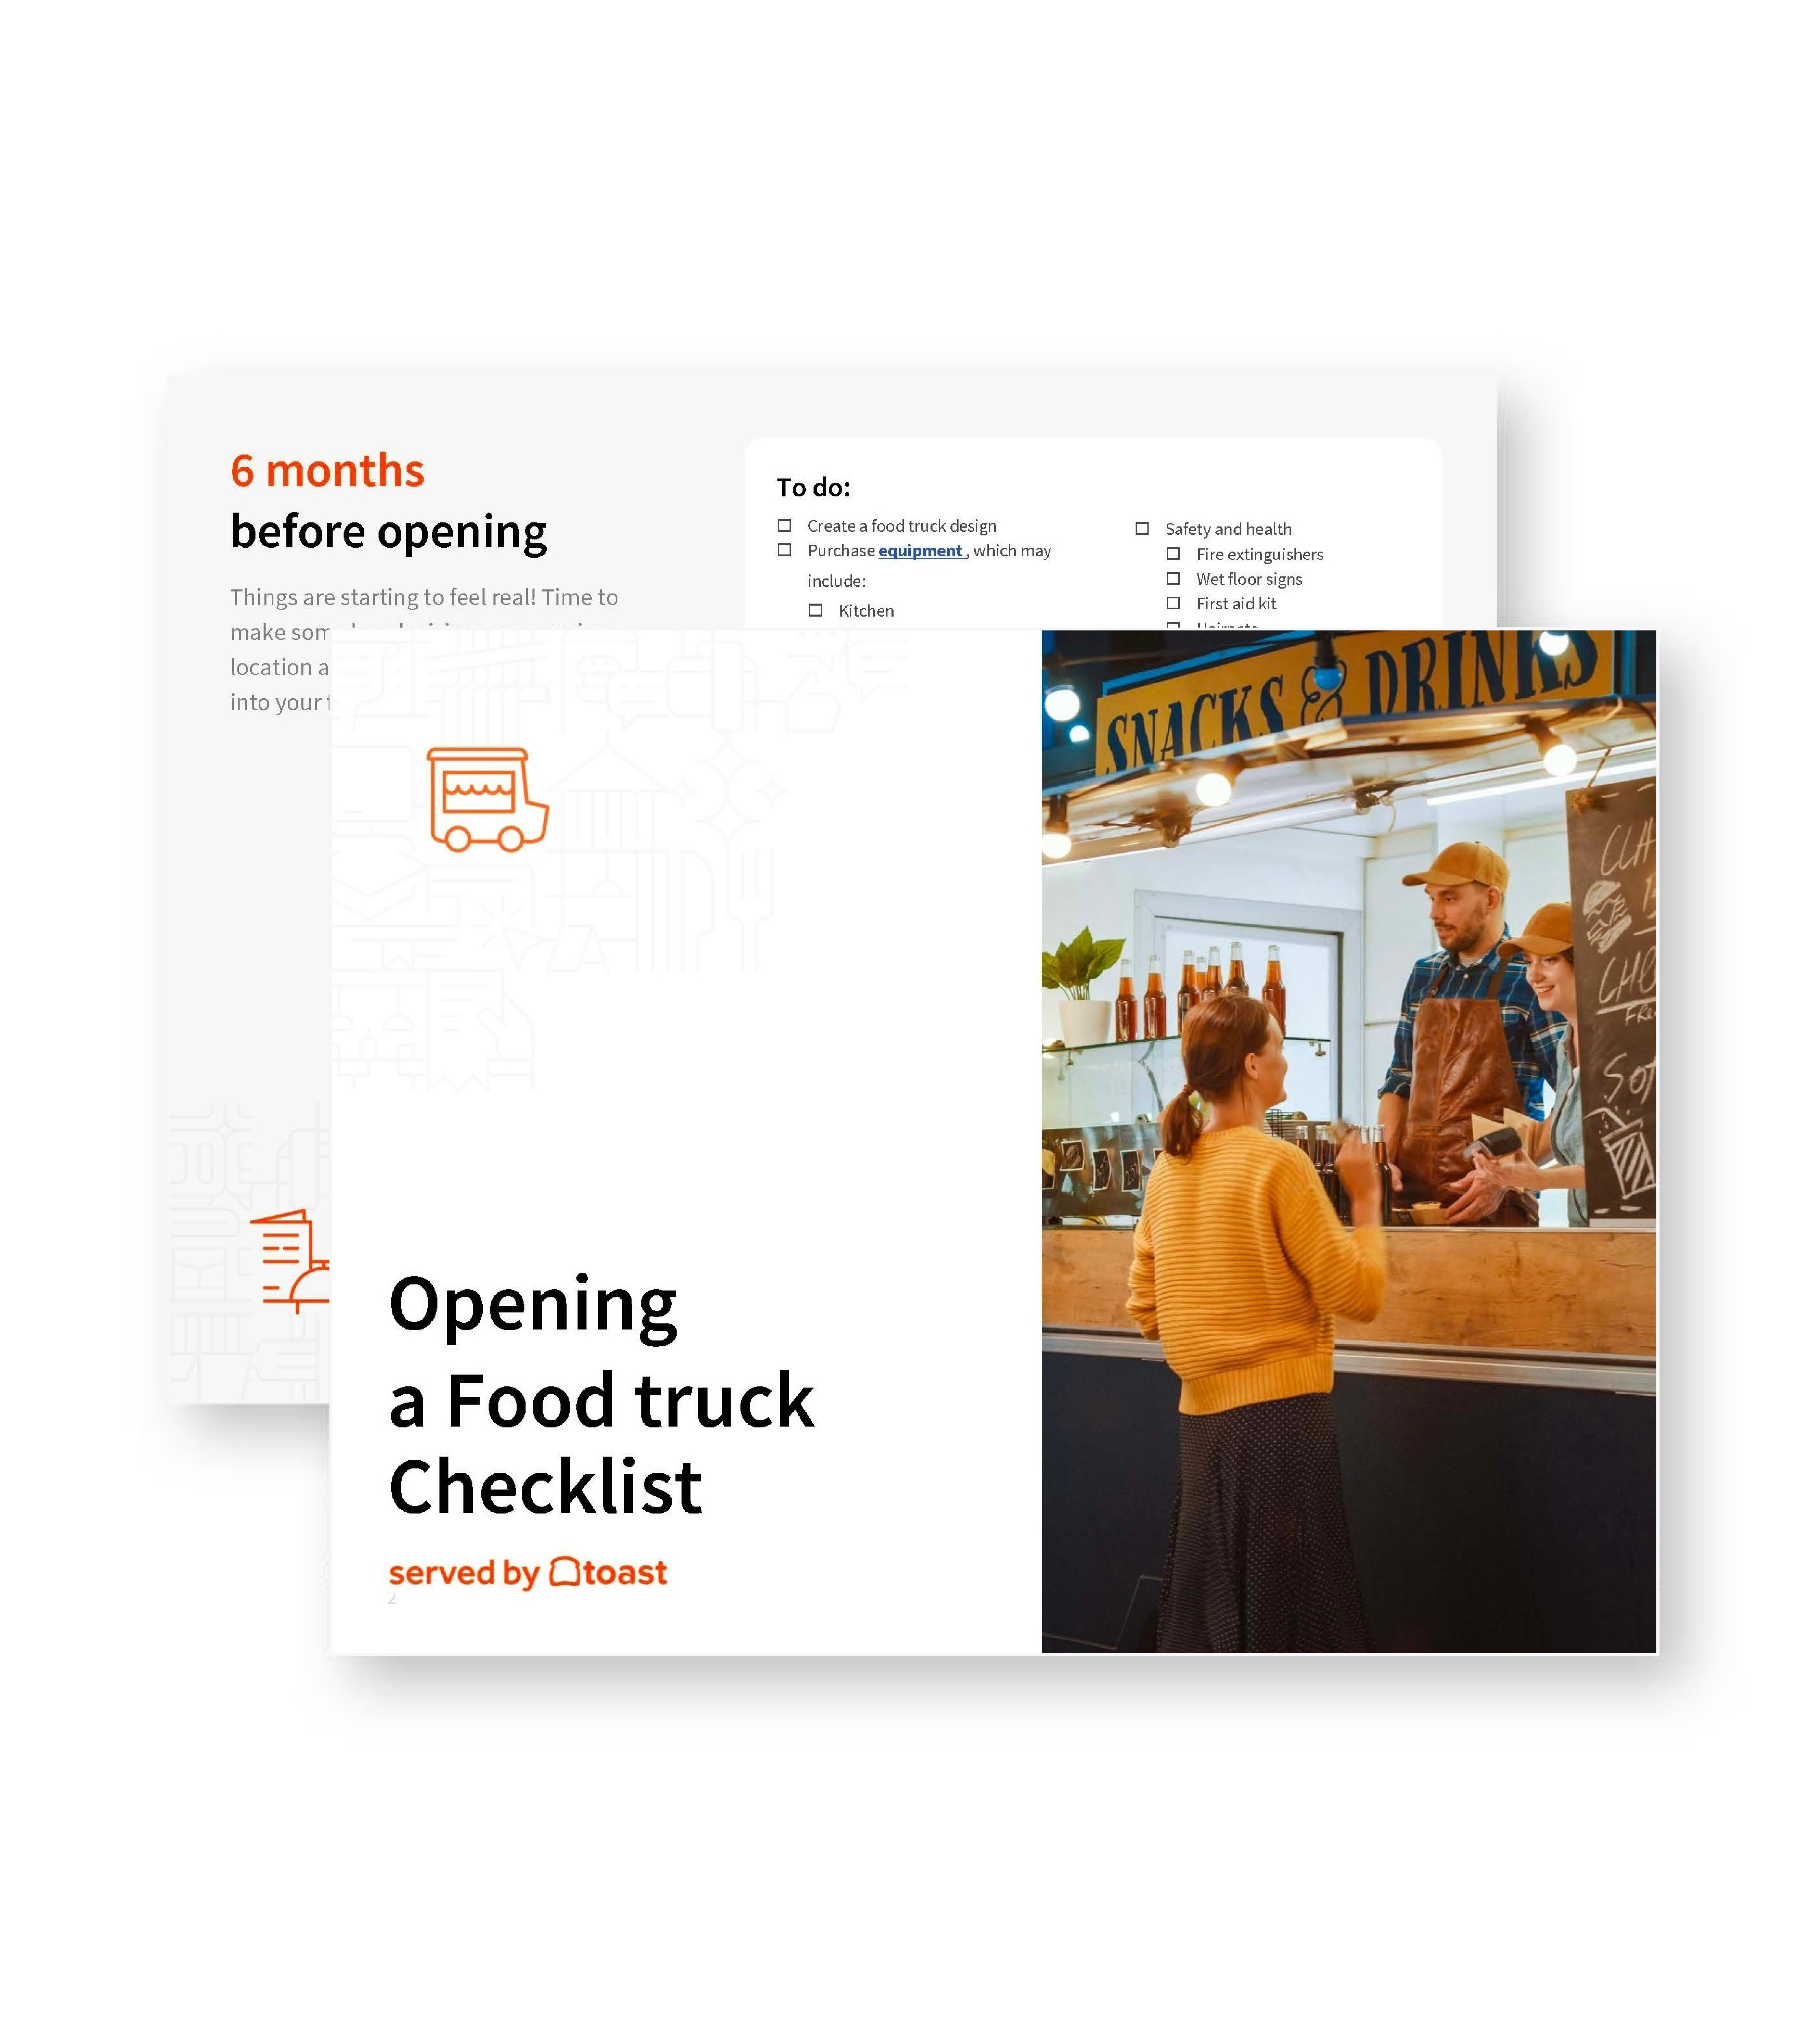
Opening a Food Truck Checklist
So many things go into opening a food truck. With this free PDF checklist, you'll set your new business up for success.
Get Free DownloadA food trailer offers the flexibility of food truck construction — without the cost of maintaining an engine — and more space than a small food cart. It’s a sweet spot for entrepreneurs who want mobility, efficiency, and lower startup costs without sacrificing professional-grade equipment or a legit kitchen setup.
For many first-time owners, trailers are the smartest path to launching a mobile food business. They can be customized to fit nearly any menu, towed by a personal vehicle, and parked at events, breweries, or pop-up sites with ease.
But building one isn’t as simple as buying a trailer and plugging in a fryer. From flooring and ventilation to plumbing, wiring, and inspections, there’s a lot that goes into turning an empty shell into a high-performing kitchen on wheels.
This step-by-step guide will walk you through the full build process — so you can get rolling with confidence (and code compliance).
Key takeaways
A food trailer offers flexibility without the cost of a food truck or the limits of a cart — making it a smart choice for new mobile food entrepreneurs.
Start with a trailer base that fits your goals, vehicle, and layout vision — from cargo shells to innovative options like sustainable container builds.
Design your kitchen around your menu to keep workflow efficient and meet health department requirements from day one.
Safety systems like ventilation, fire suppression, and proper propane storage aren’t optional — they're essential to protect your team and your trailer.
Testing before launch is crucial — mock a full service to catch issues with plumbing, power, or layout before customers do.
Opening a Food Truck Checklist
So many things go into opening a food truck. With this free PDF checklist, you'll set your new business up for success.

1. Start with the right trailer base
Every great food trailer starts with a solid foundation — and your options go far beyond standard cargo shells. While many builders choose between enclosed trailers or pre-built concession shells, some designers are pushing the format in bold new directions.
Berlin-based designer Daniel Lorch, for example, launched Walkingboxes, a company that turns lightweight shipping containers into sustainable food trailers. Built with over 90% recyclable materials and designed to be towed by smaller vehicles, the trailers reflect a new wave of mobile kitchens focused on flexibility, efficiency, and values-driven design.
Whether you’re buying new or used, here’s what to keep in mind:
Trailer type: Cargo trailers are affordable and customizable but require a full DIY build. Concession shells often include features like service windows or pre-run wiring to save you time.
Size: Most food trailers range from 12 to 20 feet long. Smaller trailers are easier to tow and cheaper to build, but can feel cramped. Larger trailers give you more space for equipment and staff — but require more upfront investment.
Axles: Tandem axles (two sets of wheels) improve stability and distribute weight better than a single axle.
Tow vehicle: A full-size truck or SUV with a brake controller is typically needed. Make sure your tow vehicle can handle the trailer’s final loaded weight.
Condition: Whether new or used, inspect the frame, flooring, and roof carefully. Small issues now can become expensive problems later.
2. Design your layout around your menu
Before you install a single appliance, map out your kitchen layout. The goal is to make everything flow — from prep to cooking to serving — in the tight space you’ve got.
Start by thinking through your menu. What you serve will determine what kind of equipment you need, how much prep space is required, and how your team will move inside the trailer. As you plan your layout, consider:
Cooking zone: Group hot appliances like griddles, fryers, and warmers together, ideally under your hood and ventilation system.
Prep space: Include counter space for plating, wrapping, or assembling dishes. The more multitasking your setup requires, the more you’ll need.
Cold storage: Tuck refrigeration under counters or in corners to save space while keeping ingredients within reach.
Service window: Place it near the front and close to where final orders are handed off. Bonus if you can add a small counter for customers.
Sinks and cleanup: Most health departments require a 3-compartment sink and a separate handwashing sink. Plan room for both near the rear of the trailer or along a side wall.
Consider getting help from a pro who can mock up a legal and efficient design for about $1,000, according to Terrell Turner, owner of the food trailer Hot Box Pizza. He said:
"What I would suggest for anyone who wants to build out the trailer for themselves, especially if they don't know anything about construction, is to hire an architect… It'll save you a lot of headaches when trying to do something on your own. And then you have a blueprint to refer back to.”
3. Build out the walls, floors, and ceiling
Once your layout is set, it’s time to turn your empty trailer into a food-safe workspace. Most builders begin by installing insulation between the trailer’s metal frame. This helps with temperature control and keeps the trailer more comfortable year-round — especially if you're working with heat-producing equipment.
For surfaces, focus on materials that are water-resistant, fire-safe, and simple to wipe down:
Walls and ceiling: Fiberglass-reinforced plastic (FRP) panels are a popular choice. They’re affordable, durable, and meet most health codes.
Flooring: Commercial-grade vinyl flooring or rubber coin flooring offers grip and is easy to clean. Seam everything properly to prevent water from seeping underneath.
Be sure to use high-heat materials and proper shielding near cooking equipment. If you plan to install a hood, now’s a good time to frame the ceiling area around it for a snug fit.
4. Install plumbing and water systems
Health departments typically require every food trailer to have a working sink setup — and that means installing a compact but functional plumbing system. At minimum, you’ll need:
A 3-compartment sink for washing, rinsing, and sanitizing dishes.
A separate handwashing sink, located near your prep or service area.
Fresh and gray water tanks (usually 30–50 gallons each, depending on local regulations).
A hot water heater, often powered by electricity or propane.
A water pump to maintain pressure, especially when you’re not hooked up to city water.
Space is tight, so most builders install tanks under counters or behind cabinets. Make sure all plumbing is securely mounted and labeled — and check your state or local requirements, as plumbing specs can vary.
5. Install electrical wiring and power systems
Your food trailer needs electricity — whether it’s to run a griddle, power your fridge, or just keep the lights on. That means planning out your electrical system early, before walls and equipment go in. Start by figuring out how you’ll power the trailer:
Generator: A popular option for mobility. Make sure it's quiet, reliable, and powerful enough to handle all your electrical needs.
Shore power: Lets you plug into an external power source at events or commissaries. Often used in combination with a generator.
Solar (optional): Great for reducing fuel use, but typically supplements — not replaces — your main power source.
Then, plan your system:
Map out where outlets, switches, and appliances will go.
Run wiring through the walls before insulation and panels are installed.
Include a breaker panel with properly labeled circuits.
Use GFCI outlets (ground-fault circuit interrupters) near any sinks or wet areas.
If you’re not confident in your electrical skills, this is the time to hire a licensed pro. Poor wiring isn’t just frustrating — it can be dangerous. Always put safety first when you’re not sure!
6. Choose and install cooking equipment
With your electrical and gas systems in place, it’s time to add the appliances that bring your menu to life. What you install depends on what you’re serving, but common food trailer equipment includes:
Griddles or flat-tops
Deep fryers
Steam tables or warmers
Refrigerators and freezers
Microwaves, toasters, or panini presses
Be sure to:
Choose commercial-grade, trailer-rated appliances that meet NSF standards.
Secure each unit to the floor or counters using brackets and bolts — your trailer is mobile, and things shift.
Leave clearance between appliances and walls for airflow and safety.
Add propane hookups for gas-powered equipment, with tanks mounted in a properly vented exterior cage.
Measure carefully. If you're working with a tight layout, combo units (like griddle/fryer combos) can save valuable space.
7. Set up ventilation and fire safety
Any equipment that produces heat or grease needs ventilation — not just for comfort, but to meet health and fire codes. A proper hood system keeps your trailer safe, cool, and compliant.
Most food trailers use a commercial exhaust hood installed over fryers, griddles, or ranges. Depending on your local requirements, you may also need a make-up air system to bring in fresh air and balance pressure.
Just as important as ventilation is fire safety. In most areas, you're required to install:
A fire suppression system that automatically discharges in case of a grease fire.
A Class K fire extinguisher (for grease fires) and sometimes a Class ABC extinguisher (for electrical or other fires).
A propane tank cage mounted outside the trailer, with proper shut-off valves and regulators.
These aren’t just best practices — they’re lifesaving. In one reported incident, fire investigators traced a food truck explosion to a propane leak ignited by an electrical spark. No one was hurt, but several nearby buildings, trailers, and food stands were damaged in the blast. It’s a stark reminder that safety should always be top of mind.
8. Add the service window and exterior features
Your service window is where customers meet your brand — so it needs to be functional and inviting. Most builders cut a large opening on the passenger side of the trailer and install a sliding or flip-up window. When planning your service area, consider:
Window size: Common dimensions are 36" to 48" wide. Go larger if you expect long lines or need space for two staff members to work side by side.
Placement: Set it at a comfortable standing height for staff and eye level for customers.
Shelving: Add a flip-out counter or ledge beneath the window for passing orders or holding condiments.
This is also the time to add other exterior features that enhance customer experience or strengthen your brand, such as:
Lighting for evening events or dim locations
Exterior speakers or menu boards
Custom wrap, signage, or decals to show off your trailer’s personality
Make sure everything is weather-resistant and road-safe — your trailer needs to hold up through rain, wind, and regular towing.
9. Test everything before you hit the road
Before you serve a single customer, take time to test your full setup — because what works on paper doesn’t always work in practice. Go through your systems one by one:
Plumbing: Fill your fresh water tank, run the sinks, and check for leaks. Make sure the gray water tank drains properly.
Electric: Turn on each appliance and check every outlet. Run your generator under full load to ensure it holds steady.
Gas: Test propane connections for leaks with soapy water. Confirm that each burner or fryer lights consistently.
Ventilation and fire suppression: Confirm fans and hood systems are working. If you’ve installed a suppression system, have it professionally inspected and tagged.
Then, simulate a real service — or even host a soft opening. Time how long it takes to prep and serve a few mock orders. You’ll quickly spot any traffic jams, awkward placements, or equipment hiccups that need to be fixed.
10. Get ready for inspections and launch
With your trailer fully built and tested, you’re almost there — but you still need the green light to operate legally. Most cities and states require some combination of licenses and permits, including:
Health inspection (from your local department of health)
Fire inspection (from your local fire marshal)
Business license
Food handler certification for you and your staff
Mobile food vendor permit or cart/trailer license
Some areas also require proof of a commissary kitchen agreement — a licensed facility where you store or prep food off-site. Every location is different, so it’s smart to contact your local health department early in the build process. That way, you’re not scrambling to make changes at the last minute. Once you’re cleared and permitted, you’re ready to launch!
Your trailer is built — now let the flavor roll
Building a food trailer takes time, planning, and a lot of hands-on work — but it’s also one of the most rewarding ways to bring your culinary vision to the streets. And once your setup is complete and your permits are in hand, all that’s left is to fire up the grill and start serving!
Is this article helpful?
DISCLAIMER: This information is provided for general informational purposes only, and publication does not constitute an endorsement. Toast does not warrant the accuracy or completeness of any information, text, graphics, links, or other items contained within this content. Toast does not guarantee you will achieve any specific results if you follow any advice herein. It may be advisable for you to consult with a professional such as a lawyer, accountant, or business advisor for advice specific to your situation.


Subscribe to On the line
Sign up to get industry intel, advice, tools, and honest takes from real people tackling their restaurants' greatest challenges.
By submitting, you agree to receive marketing emails from Toast. We’ll handle your info according to our privacy statement. Additional information for California residents available here.