
How To Use a POS System: A Simple Step-by-Step Guide
Learning how to use a POS system can seem complicated, but it’s easier than you think. Use this simple step-by-step guide to get up and running.
Author
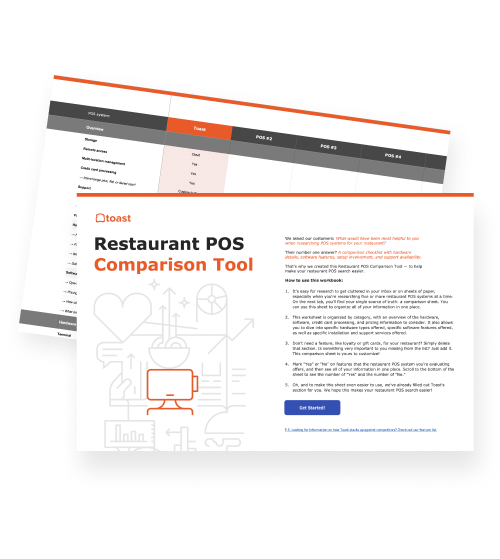
Restaurant POS Comparison Tool
A free, customizable Restaurant POS Comparison Tool to research and compare point of sale systems in one Excel spreadsheet.
Get Free DownloadA POS system is one of the most important tools in any retail store or restaurant. It powers your checkout process, tracks inventory, manages payments, and provides insights into how your business is performing.
According to industry research, 84% of full-service restaurants and 72% of quick-service and fast-casual restaurants reported significant revenue improvements after investing in POS systems.
The benefits are clear, but if you’re new to using one, it can feel overwhelming at first. The good news? Once you understand the basics, a POS system is straightforward to use and incredibly helpful in day-to-day operations.
In this guide, we’ll explain how to use a POS system step by step—from setting up hardware and adding products to processing sales and using data to improve performance—so you can feel confident using your POS system from day one.
Key takeaways
A POS system supports more than checkout—it connects sales, payments, inventory, and reporting in one platform.
Setting up hardware and configuring user permissions properly creates structure and accountability from the start.
Adding products or menu items accurately ensures smoother transactions and better reporting.
Real-time inventory tracking and reporting tools help you monitor performance and reduce errors.
Using POS data strategically can improve staffing, pricing, and overall operational efficiency.
Restaurant Business Plan Template
No matter where you’re at in your restaurant ownership journey, a business plan will be your north star. Organize your vision and ensure that nothing is overlooked with this free template.

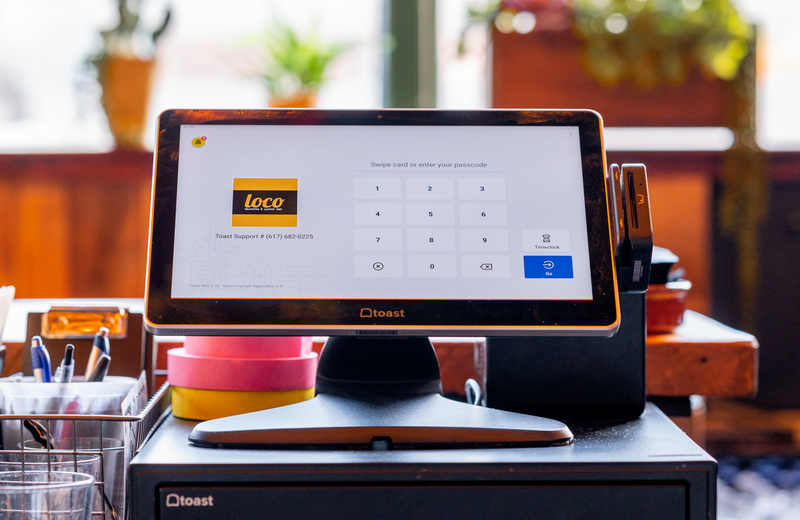
1. Set up your POS hardware
Before processing transactions, you’ll need to set up your POS hardware. According to Ken Research, the cost of deploying some types of POS terminals can sometimes exceed $10,000 for small businesses. Fortunately, other options, like Toast’s Starter Kit, provide hardware with no upfront cost.
The exact components you’ll need depend on whether you run a retail store or restaurant, but most systems include a combination of the following tools.
Terminal or tablet: The main device where transactions are processed.
Card reader: Accepts credit, debit, and contactless payments.
Receipt printer: Prints physical receipts for customers.
Cash drawer: Stores cash payments securely.
Barcode scanner (retail): Speeds up checkout by scanning product barcodes.
Kitchen display system (restaurants): Sends orders directly to the kitchen for faster, more accurate fulfillment.
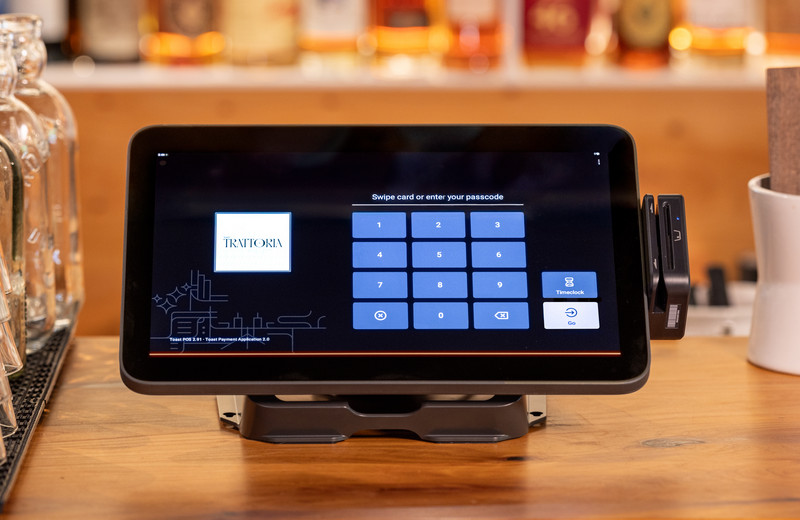
2. Log in and configure user permissions
Once your hardware is ready, the next step is setting up employee access. A POS system allows you to create individual logins and assign specific permissions based on roles. Configuring user permissions early helps create structure and accountability from day one.
Employee logins: Create unique credentials for each team member to track activity and accountability.
Role-based access: Limit access to sensitive functions like refunds, voids, or reporting based on job responsibilities.
Security basics: Use secure passwords and avoid shared logins to protect business data.
Why permissions matter: Proper access controls reduce errors, prevent unauthorized actions, and improve operational oversight.
3. Add products or menu items
After setting up hardware and user access, you’ll need to enter your products or menu items into the system. This ensures accurate pricing, reporting, and inventory tracking. Taking time to structure your product catalog properly makes transactions smoother and improves reporting accuracy later.
Create items: Add each product or menu item into the POS system.
Set prices: Assign accurate pricing, including tax settings if applicable.
Add SKUs or modifiers: Include SKUs for retail products or modifiers for restaurant items (e.g., size, add-ons, substitutions).
Organize categories: Group items into logical categories to make checkout faster and reporting clearer.
Upload images (if applicable): Add photos to help staff quickly identify items during checkout.
4. Process a sale
Once your system is set up and stocked with products, you’re ready to complete transactions. Most POS systems guide users through a simple checkout flow. Processing sales efficiently helps reduce wait times and improves the overall customer experience.
Select items: Add products or menu items to the cart or order screen.
Apply discounts: Enter promotional codes or apply manual discounts when needed.
Add modifiers (restaurants): Customize orders with add-ons, substitutions, or special instructions.
Accept payment: Choose the customer’s payment method and complete the transaction.
Issue receipt: Provide a printed, emailed, or text receipt based on customer preference.
5. Manage payments
A POS system does more than just accept transactions—it helps you manage how payments are processed and adjusted. Understanding these functions ensures smoother operations and fewer accounting issues.
Accept multiple payment types: Process cash, credit and debit cards, contactless payments, mobile wallets, and other supported methods.
Split payments: Divide a single transaction across multiple payment methods, such as cash and card.
Handle refunds and returns: Process returns, void transactions, and issue refunds directly through the system.
Issue store credit or gift cards: Provide store credit or load funds onto gift cards for future purchases.
6. Track inventory
One of the most valuable features of a POS system is real-time inventory tracking. As sales are processed, inventory levels update automatically. Accurate inventory tracking helps prevent stockouts, reduce waste, and improve purchasing decisions.
Sync sales to inventory: Each completed transaction adjusts stock counts in the system.
Monitor stock levels: Review inventory reports to identify fast-moving or low-stock items.
Set low-stock alerts: Receive notifications when items reach a predetermined threshold.
Adjust counts: Manually update inventory to account for damaged goods, returns, or stock discrepancies.
7. Run reports
A POS system provides built-in reporting tools that give you visibility into daily performance. Regularly reviewing reports helps you identify trends, monitor staff activity, and make informed business decisions.
Sales reports: Track total revenue, sales by category, and performance by time period.
Payment reports: Review how customers are paying and reconcile payment methods.
Employee performance: Monitor individual sales, refunds, and transaction activity.
Product performance: Identify top-selling and slow-moving items.
Daily reconciliation: Compare recorded transactions with actual payments received to ensure accuracy.
8. Close out the day
At the end of each business day, use your POS system to reconcile and finalize transactions. This ensures your records are accurate and ready for the next shift.
Reconcile cash drawer: Count physical cash and compare it to the POS totals.
Review transactions: Double-check refunds, voids, and adjustments.
Generate end-of-day report: Summarize total sales, payments, and performance metrics.
Prepare deposits: Organize cash and finalize digital payment batches for deposit.
9. Use POS data to improve operations
Beyond processing transactions, a POS system gives you valuable data that can help you run your business more strategically. By reviewing performance metrics regularly, you can make informed decisions that improve profitability.
Identify top-selling products: Use sales data to highlight bestsellers and determine which items drive the most revenue.
Optimize staffing: Analyze sales trends by time of day or day of week to schedule employees more effectively.
Adjust pricing or promotions: Evaluate how discounts and promotions impact sales and refine your strategy accordingly.
Forecast demand: Use historical data to anticipate busy periods and plan inventory purchasing in advance.
Mission POS-sible
Learning how to use a POS system might feel technical at first, but once it’s set up and running, it quickly becomes one of the most helpful tools in your business. From ringing up sales to tracking inventory and running reports, it keeps everything organized in one place.
By following these steps and using your system consistently, you can simplify daily tasks, reduce errors, and gain clearer visibility into how your business is performing. Choosing the right POS system can help you make confident decisions about staffing, pricing, and inventory.
Restaurant Metrics Calculator
Use this free calculator to calculate the key restaurant metrics needed to understand the health and success of your business.
FAQ
How long does it take to learn a POS system?
Most POS systems are designed to be user-friendly and can be learned in a short amount of time, from a few hours to a few days.
Can POS systems work without internet?
Many modern POS systems offer limited offline functionality, allowing businesses to continue processing transactions temporarily if internet service is interrupted. However, full features such as real-time inventory syncing and cloud reporting typically require an internet connection.
What’s the difference between restaurant and retail POS systems?
Restaurant POS systems often include features like table management, modifiers, and kitchen display integrations. Retail POS systems typically focus on barcode scanning, SKU management, and product-level inventory tracking. Both share core functions such as payment processing and reporting.
How often should staff receive refresher training?
Refresher training should be provided periodically, especially when new features are introduced or procedures change. Regular check-ins help maintain consistency, reduce errors, and ensure employees are using the system efficiently.
Do I need a merchant account to accept credit cards?
In most cases, yes. Accepting credit and debit card payments typically requires a merchant account or a payment processing service that facilitates transactions between your business and the card networks.
Restaurant Opening Calculator
This calculator lays out some of the fundamental financial costs of opening a restaurant, so you can start planning and bring your dream restaurant to life.

Is this article helpful?
DISCLAIMER: This information is provided for general informational purposes only, and publication does not constitute an endorsement. Toast does not warrant the accuracy or completeness of any information, text, graphics, links, or other items contained within this content. Toast does not guarantee you will achieve any specific results if you follow any advice herein. It may be advisable for you to consult with a professional such as a lawyer, accountant, or business advisor for advice specific to your situation.


Subscribe to On the line
Sign up to get industry intel, advice, tools, and honest takes from real people tackling their restaurants' greatest challenges.
By submitting, you agree to receive marketing emails from Toast. We’ll handle your info according to our privacy statement. Additional information for California residents available here.